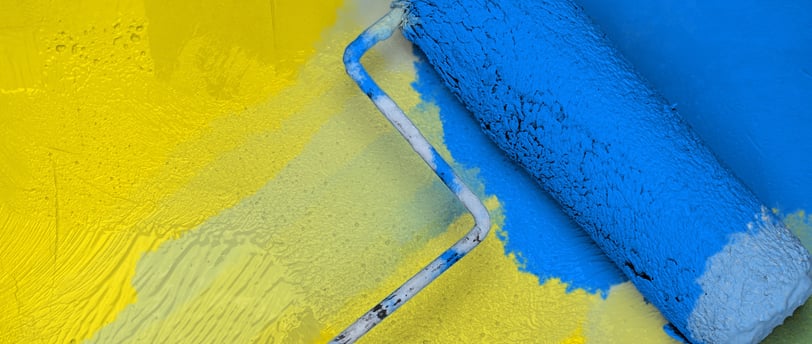
5 Painting Mistakes That Are Ruining Your Projects
Before you pick up that brush or roller, read these five tips to ensure success.
INTERIOR HOUSE PAINTING
1/16/20253 min read
Painting may seem like a straightforward way to transform your space, but without the right approach, your project can quickly go sideways. To help you achieve professional-looking results, we’ve gathered insights from painting and design experts on the most common mistakes to avoid. Before you pick up that brush or roller, read these five tips to ensure success.
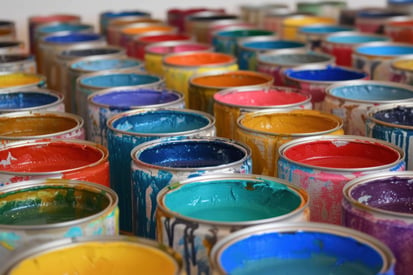
1. Not Choosing a Color Carefully
With so many paint colors available, selecting the right one can feel overwhelming. While it’s tempting to make a quick decision, doing so often leads to disappointment once the paint is on the walls.
Grab paint samples, paint them on the wall (or a poster board), and live with them for a few days. Observe how the colors look at different times of the day, as lighting can dramatically affect their appearance. You'll quickly eliminate shades that don't work.
Taking the time to test colors in your space can save you from the regret of choosing the wrong hue.
2. Misunderstanding Paint Types
Not all paints are created equal, and using the wrong type can impact both application and durability. For example, interior paint isn’t designed to withstand outdoor elements, while exterior paint contains chemicals that might not be suitable for indoor use.
For kitchens and bathrooms, opt for a satin enamel finish to handle the moisture levels. However, this may not be ideal for bedrooms due to its longer drying time.
Understanding the specific needs of your project and selecting the right paint type will ensure a better outcome and longer-lasting results.
3. Skipping Proper Surface Prep
Rushing into a painting project without prepping the surfaces is a common mistake that can lead to a poor finish. Walls may look clean and smooth, but small imperfections, dust, and grease can prevent the paint from adhering properly.
Fill in any holes or cracks with wall filler, let it dry, and sand the area smooth before painting. Even if the walls appear flawless, wipe them down with a mild soap solution to remove dust and grime.
Don’t forget to apply a primer before painting. Primer enhances color vibrancy and helps prevent peeling or chipping, giving your walls a professional look.
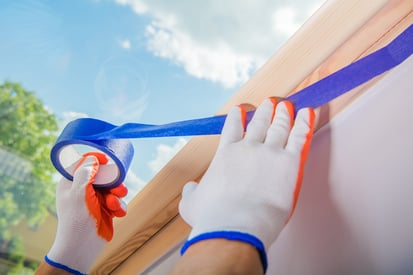
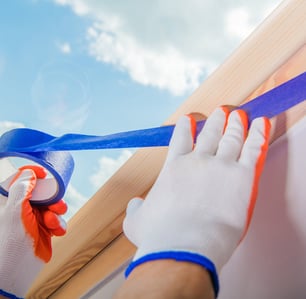
4. Skipping Painter’s Tape
Skipping painter’s tape to save time can backfire, especially if your hand isn’t steady. Taping off boundaries protects moldings, door hardware, and other areas you don’t want to paint, ensuring clean, sharp lines.
Professional painters often don’t need to tape because of their experience, but most DIYers don’t have that level of precision. The time you spend taping is far less than the time you’ll spend fixing mistakes.
Invest in quality painter’s tape to avoid drips and ensure a polished finish.
5. Not Letting Paint Dry Properly
Patience is key to achieving a flawless paint job. Starting a second coat before the first one dries can result in uneven shading, cracks, or peeling.
Water-based paints like acrylic dry in about an hour under moderate to warm temperatures. Oil-based paints like enamel, however, take 8 to 24 hours to dry completely, depending on the climate.
Rushing the process can compromise the quality of your work. Allow ample drying time between coats to ensure a smooth and even finish.
Final Thoughts: Plan, Prep, and Consult the Pros
Painting may seem simple, but it requires planning, preparation, and precision to achieve great results. Even confident DIYers can benefit from consulting experts. Many paint stores offer free color consultations and advice to help you avoid common pitfalls.
By following these tips, you’ll transform your space with ease and achieve a finish you’ll be proud of for years to come.
Services
Expert painting for homes and businesses in Tallahassee and surrounding areas.
Quality
Trust
© 2025 Reliapaint. All rights reserved.