How to Rescreen Your Porch or Patio
A Step by Step Guide
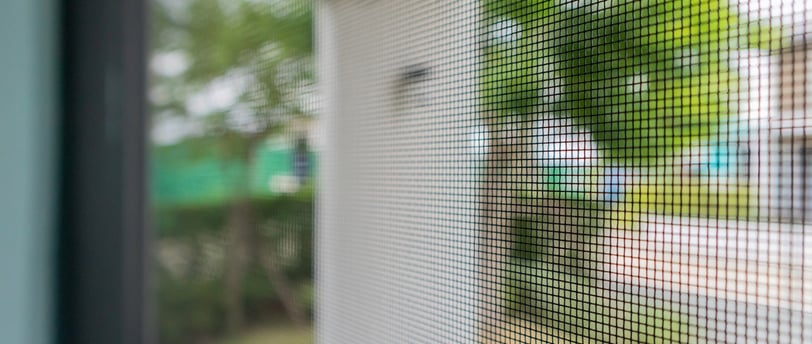
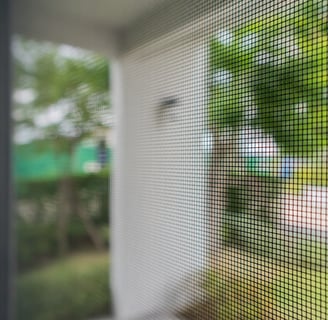
SCREENING
2/12/20252 min read
Enjoy a Bug-Free Outdoor Space with ReliaPaint
Imagine sipping your morning coffee without the nuisance of bugs or hosting an evening gathering without constantly swatting mosquitoes. Rescreening your patio or porch enhances your outdoor living experience, making it a comfortable retreat. If you’re a DIY enthusiast, this guide will walk you through the process, but if you'd prefer professional-grade results without the hassle, ReliaPaint is here to help with expert screening services in Tallahassee, FL.
Step 1: Assessing the Need for Rescreening
Before starting, check for these signs that indicate it’s time to replace your screens:
Holes or Tears: Even small holes can let in bugs.
Frayed Edges: Loose edges compromise the screen’s integrity.
Loose or Damaged Frames: Bent or warped frames won’t hold screens properly.
Fading or Discoloration: Sun exposure weakens screens over time.
If your screens show any of these signs, it’s time for a replacement!
Step 2: Gather the Necessary Tools and Materials
Essential Tools:
Screen rolling tool
Utility knife or scissors
Flat-head screwdriver
Tape measure
Work gloves & safety glasses
Required Materials:
Screen Material: Choose fiberglass, aluminum, or pet-resistant screens.
Spline: A flexible cord that secures the screen.
Screen Frame (if needed)
Staples or Screws
Trim Strips (optional): Provides a clean finish.
Having the right tools will make your DIY project smoother and more efficient.
Step 3: Removing the Old Screen
Start at a Corner: Use a flat-head screwdriver to pry the old screen away from the frame.
Remove the Spline: Lift and extract the spline that holds the screen.
Check for Staples or Screws: Remove any fasteners securing the screen.
Detach the Old Screen: Dispose of it properly and inspect the frame for damage.
Step 4: Measuring and Cutting the New Screen Material
Measure the Frame Accurately: Use a tape measure for precision.
Cut the Screen with Overlap: Allow a little extra for proper tensioning.
Trim Excess Material Carefully: Use a straight edge for a clean cut.
Step 5: Attaching the New Screen
Position the Screen Over the Frame: Align the edges properly.
Secure with Spline: Use a screen rolling tool to press the spline into place.
Apply Even Tension: Avoid wrinkles by rolling the spline smoothly around the frame.
Step 6: Finishing Touches & Maintenance Tips
Install Trim Strips: Covers fasteners for a polished look.
Regularly Inspect the Screen: Look for early signs of wear.
Clean the Screen Gently: Use mild soap and water.
Secure Loose Items in Storms: Prevent damage from high winds.
Want Professional Results? Call ReliaPaint!
DIY rescreening is a rewarding project, but it requires time and precision. If you’d prefer expert installation, ReliaPaint offers top-quality patio and porch screen repair in Tallahassee. Our skilled professionals ensure a flawless fit, using durable materials to withstand Florida’s weather.
🔹 Get a Free Estimate Today! 📞 (850) 544-3080
Let us help you create a comfortable, pest-free outdoor space!
Services
Expert painting for homes and businesses in Tallahassee and surrounding areas.
Quality
Trust
© 2025 Reliapaint. All rights reserved.